

iPad Won’t ChargeiPad Air 4 USB-C Port Repair — Downtown LA
An iPad Air 4 came in dead on the charger. On this model the USB-C port isn’t a plug-in module you can swap — it’s soldered in, which makes this a board-level soldering job under magnification. Here’s the whole repair, in the order it happened on the bench.
No response on any cable or charger
Worn USB-C port, soldered to the board
New port soldered in and tested
The job, on one card
Everything that matters about this repair, before the story.
| Model | iPad Air 4 · USB-C |
|---|---|
| Problem | Not charging on any cable. The USB-C port had failed — and on this model the port is soldered to the board, not a replaceable module. |
| Repair time | Same day · usually under an hour |
| Warranty | 30 days on the new port and the soldering work |
| Teardown | Expert only5 / 5 |
| Tech’s note | We’ve done tens of thousands of port repairs, so the soldering itself — old port off, new one on — takes about ten minutes. The real work is everything around it: getting an iPad open without cracking the glass or the screen underneath. The Air 4 and Air 5 take time to open, so a clean one-pass job usually finishes inside an hour. This isn’t a repair to learn on. An inexperienced hand tears pads off the board during desoldering, and fixing that takes the same microsoldering skill that would’ve prevented it. We’ve done more iPad ports than we can count, and I’d put our port work up against anyone in the country. |
How iPad charging ports die
The port takes a mechanical beating every single day, and USB-C hides the damage until it stops working entirely.
Thousands of insertions
Every plug-in wears the contacts a little. Tablets that live on the charger overnight rack up wear faster than most phones.
Side-loading the plug
Using the iPad while it charges levers the plug against the port. The tongue inside bends a fraction at a time until contact is gone.
Sometimes it isn’t the port
A dead battery or charging IC shows the same black screen. We test before we quote — on this one, the port itself had failed.
Old port off, new port on
Board-level soldering, step by step. Photos straight from the bench camera.
Flux on the old joints
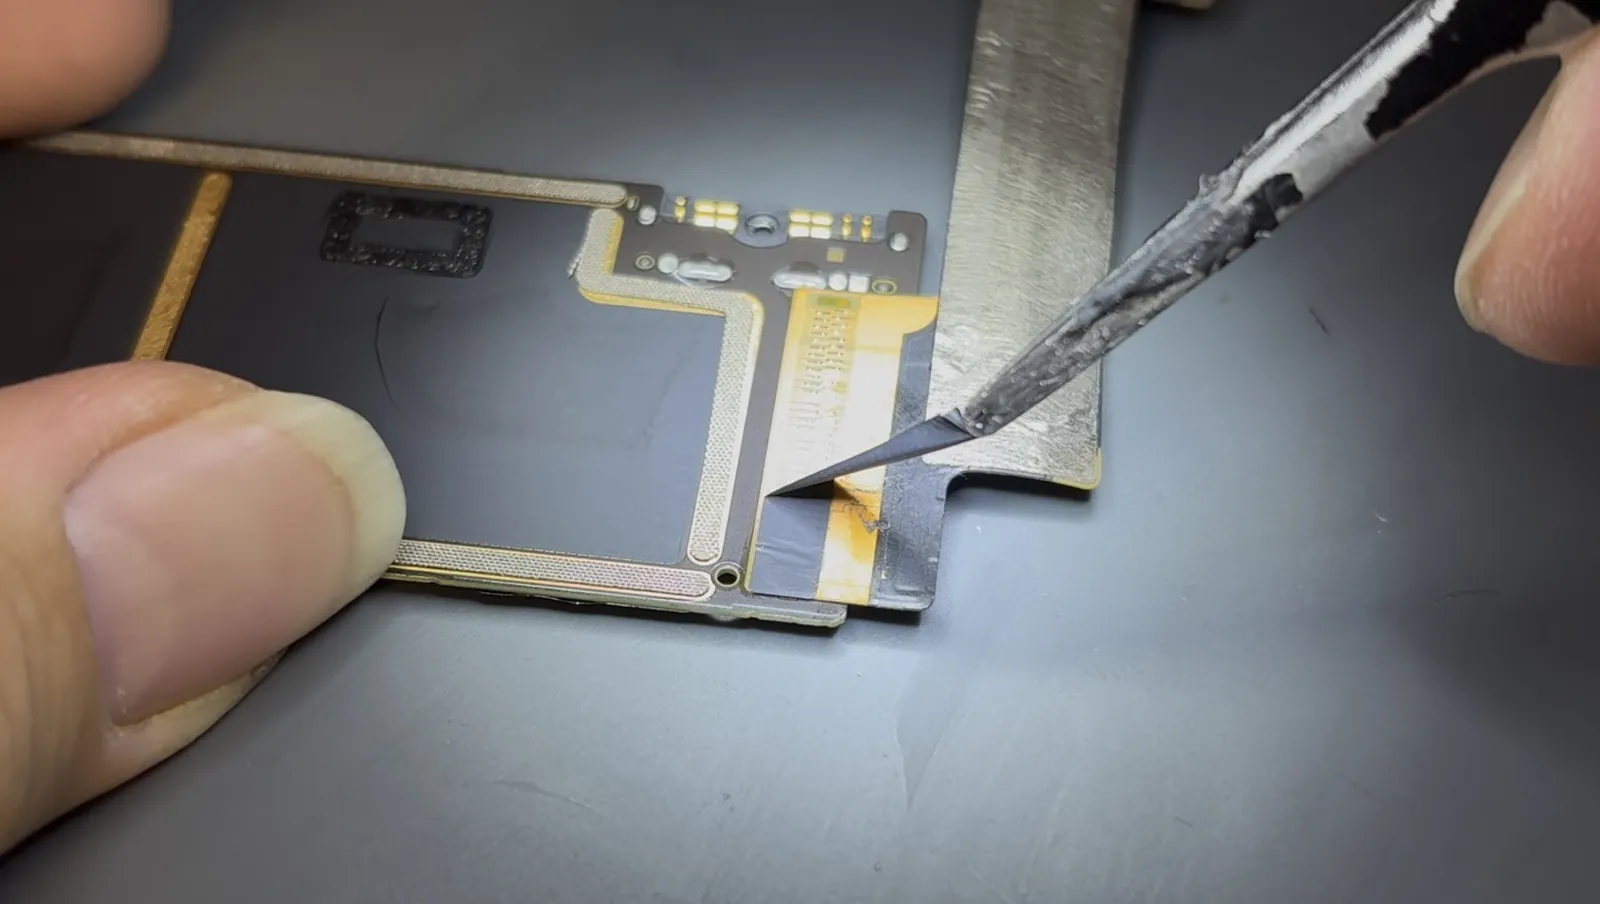
With the protective tape off, flux goes onto every joint of the failed port. Flux is what lets the solder flow instead of tearing — skipping it is how pads get ripped off boards.
Old port heated off
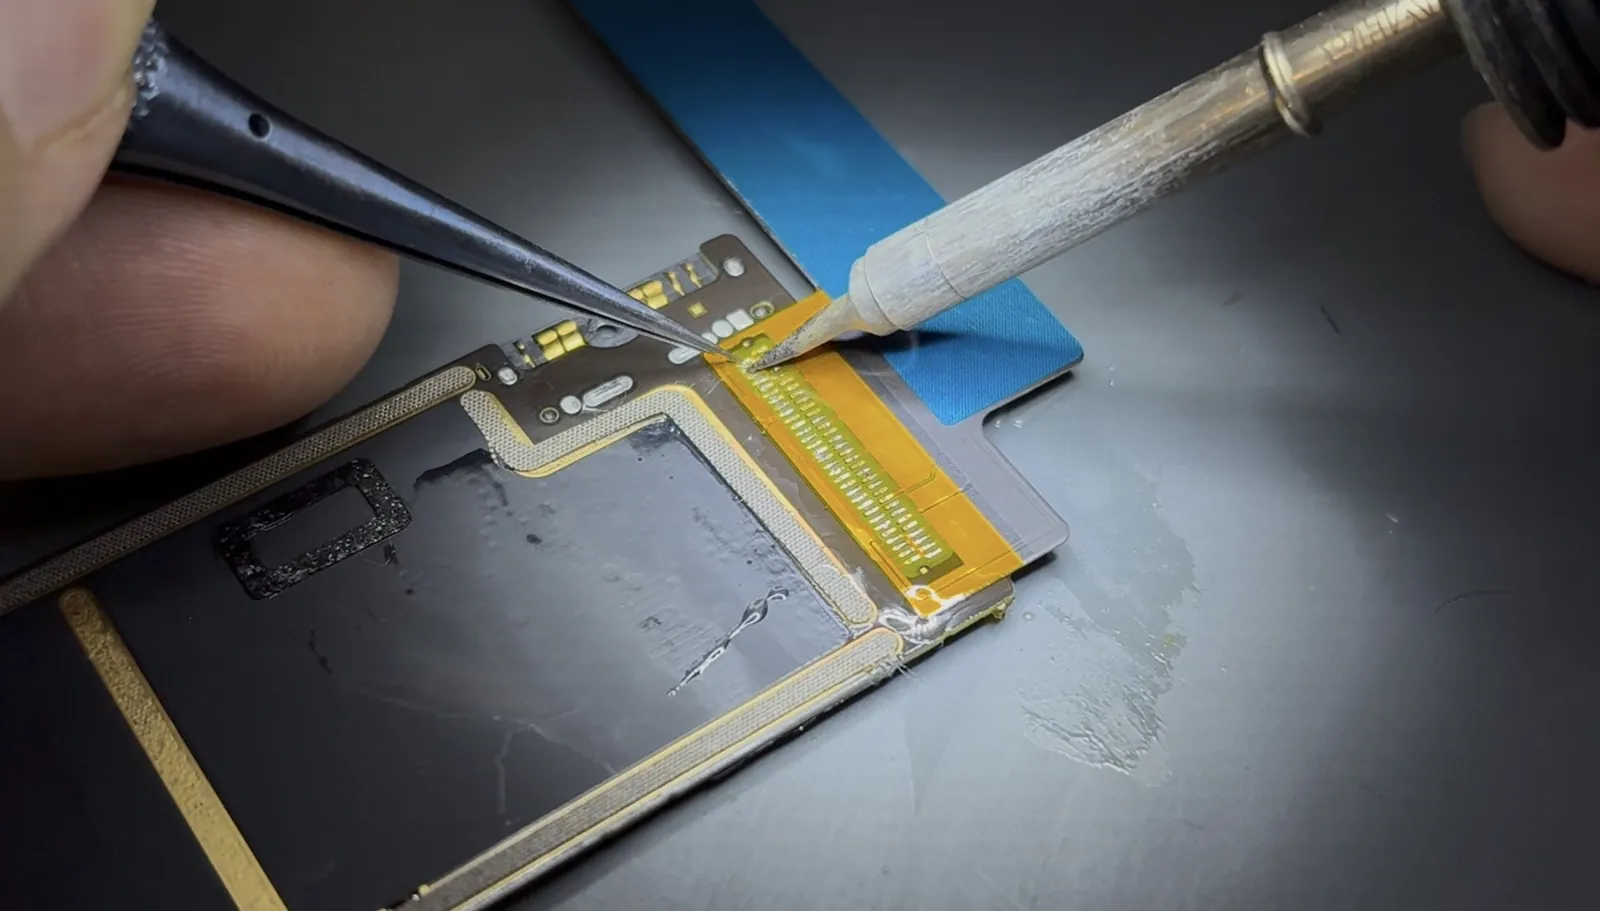
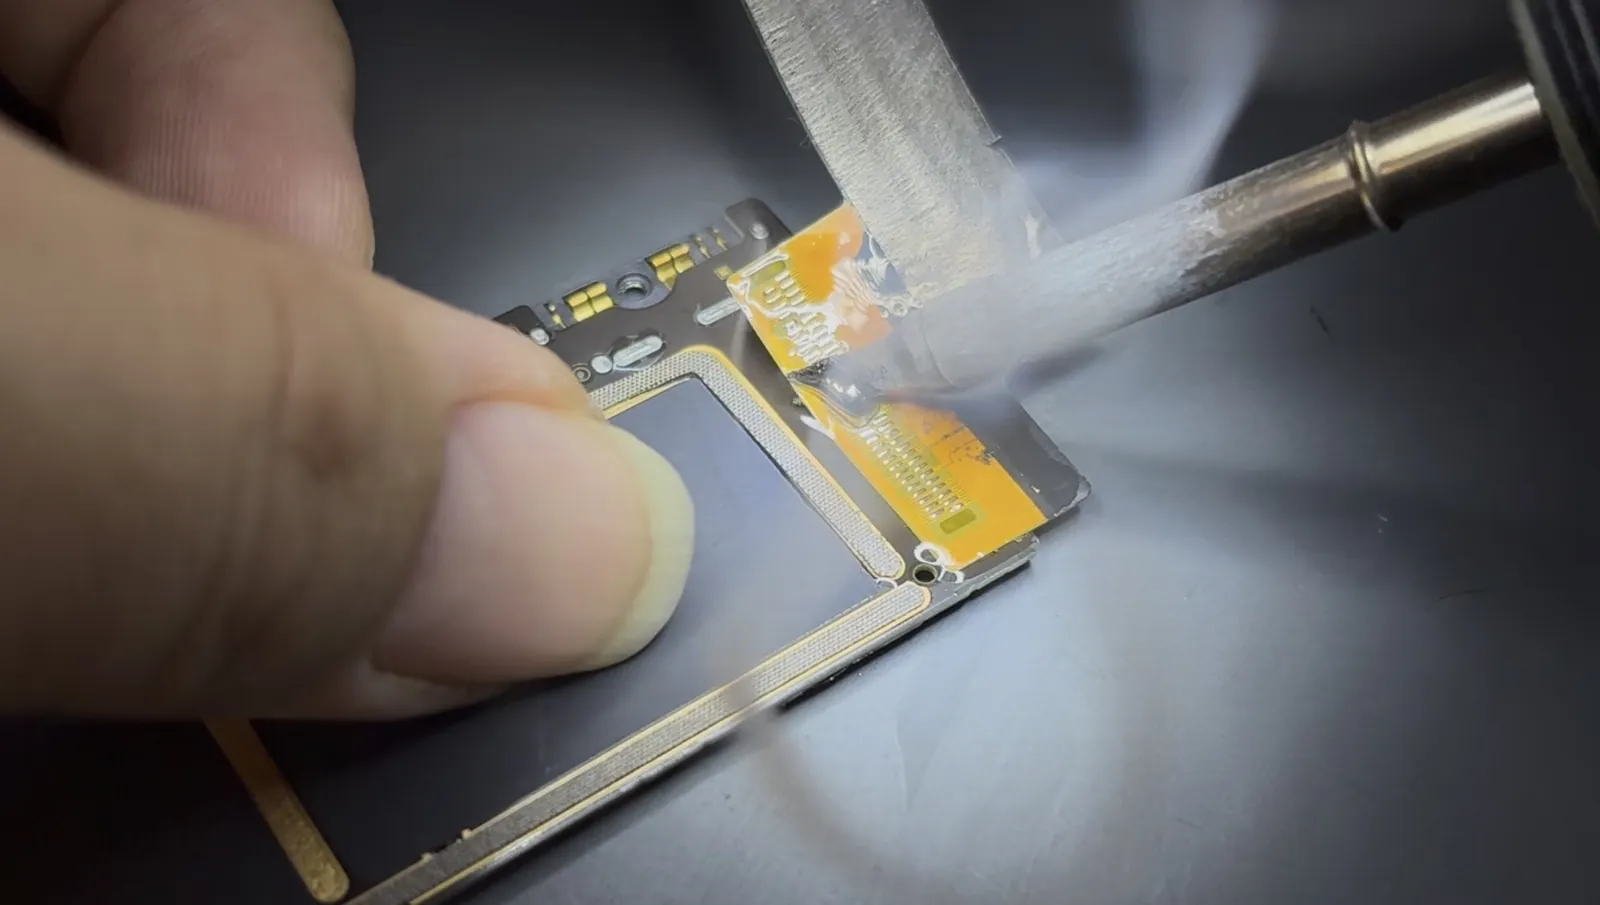
The iron works down the row of joints until the old port releases. Patience matters here: the flex under the port is thin, and forcing it before the solder is fully molten takes the pads with it.
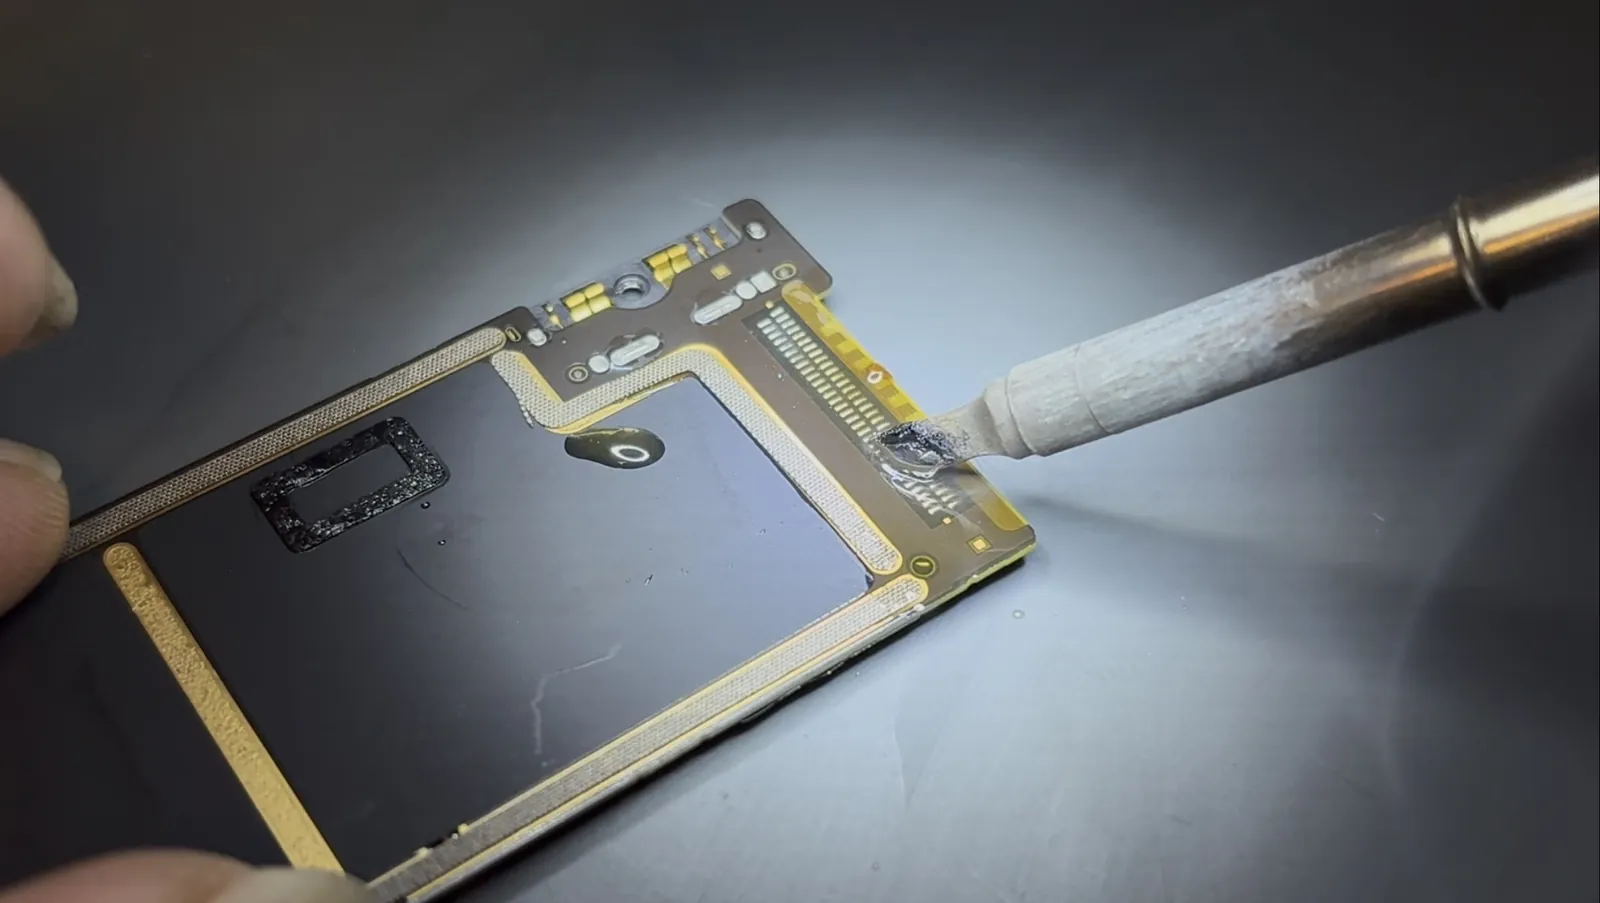
Every pad rebuilt with fresh solder
The empty footprint gets fresh solder on every pad. Old solder is brittle and full of the same fatigue that killed the port — the new joint is only as good as what it sits on.
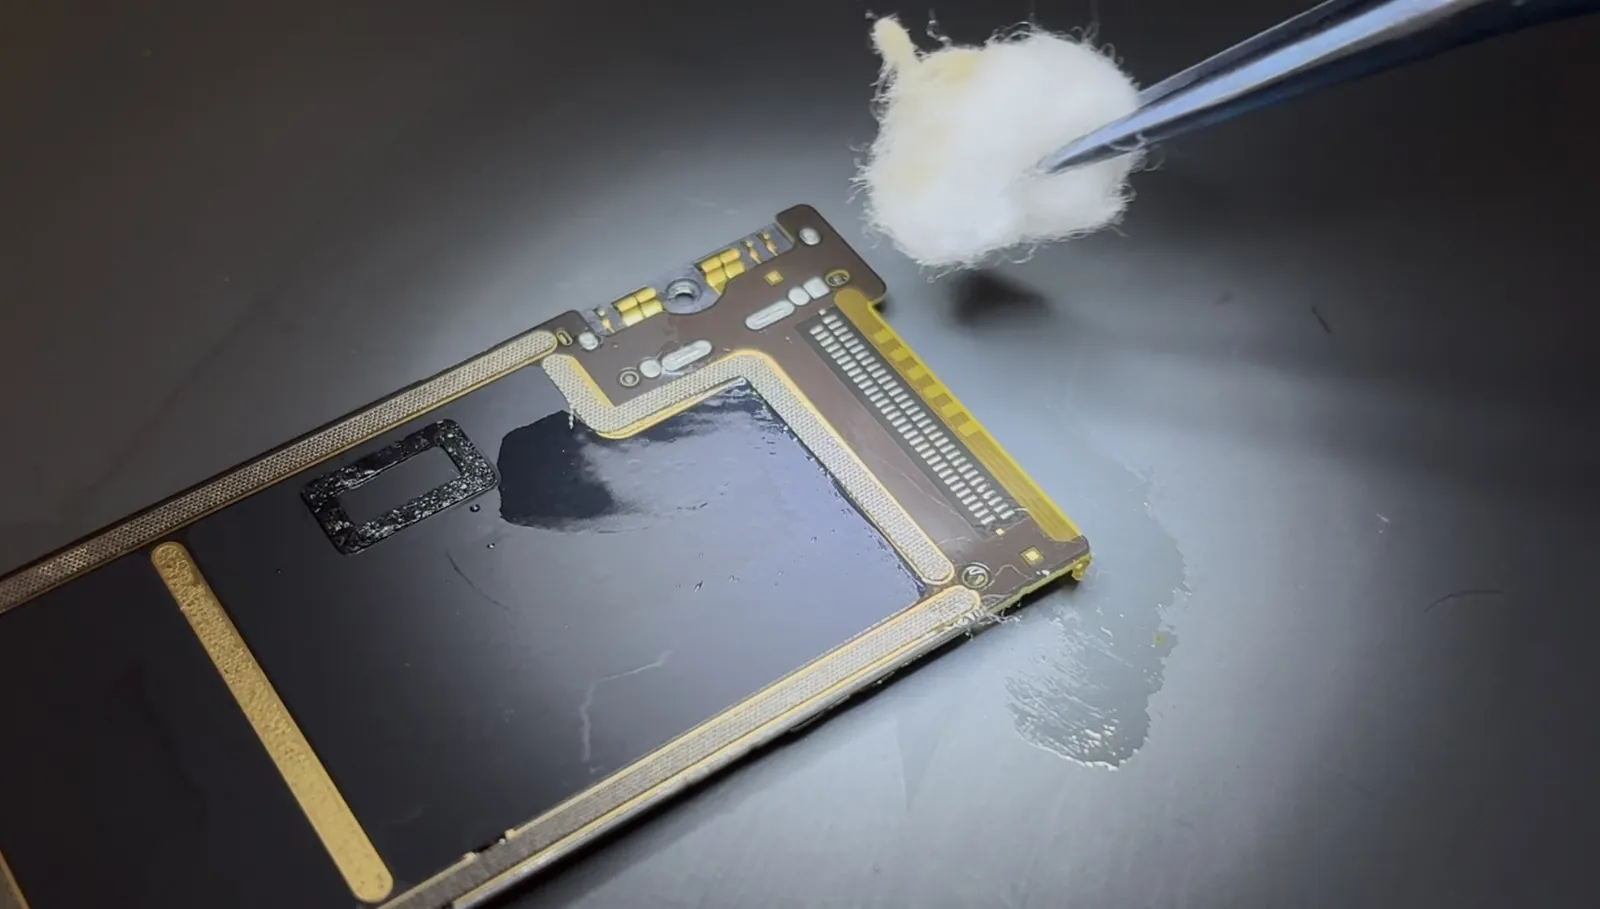
The area cleaned to bare metal
All the flux residue and stray solder gets cleaned off before the new part comes near the board. Any debris left under the port becomes a short or a weak joint later.
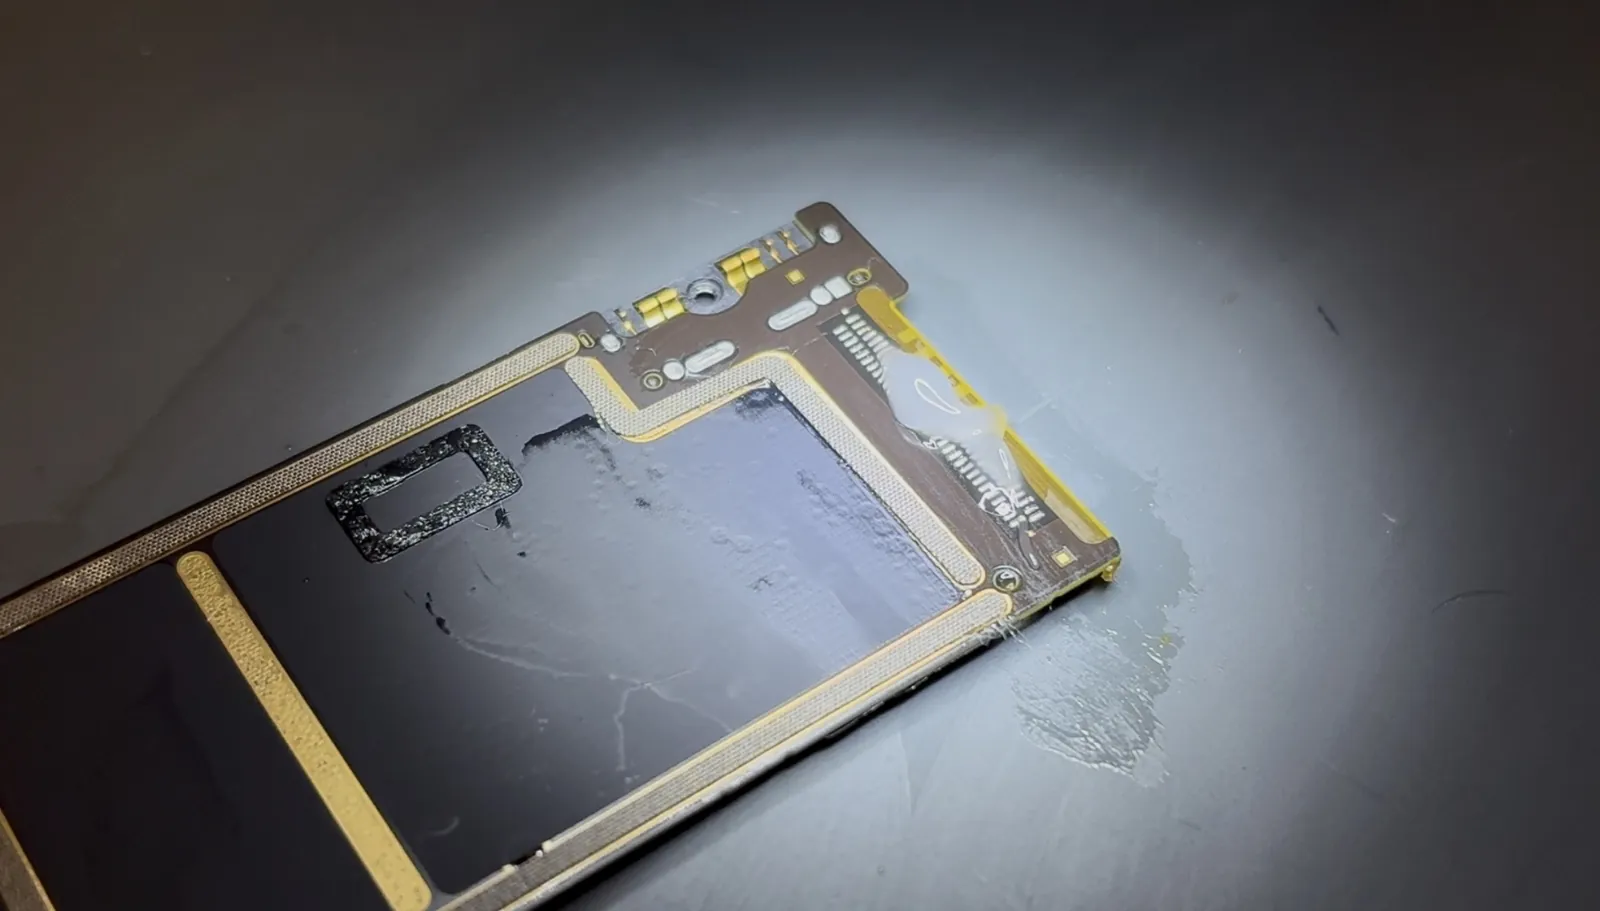
Fresh flux for the new port
A final layer of flux on the prepared pads. Now the footprint is exactly what the new port needs: clean pads, fresh solder, and something to make it flow.
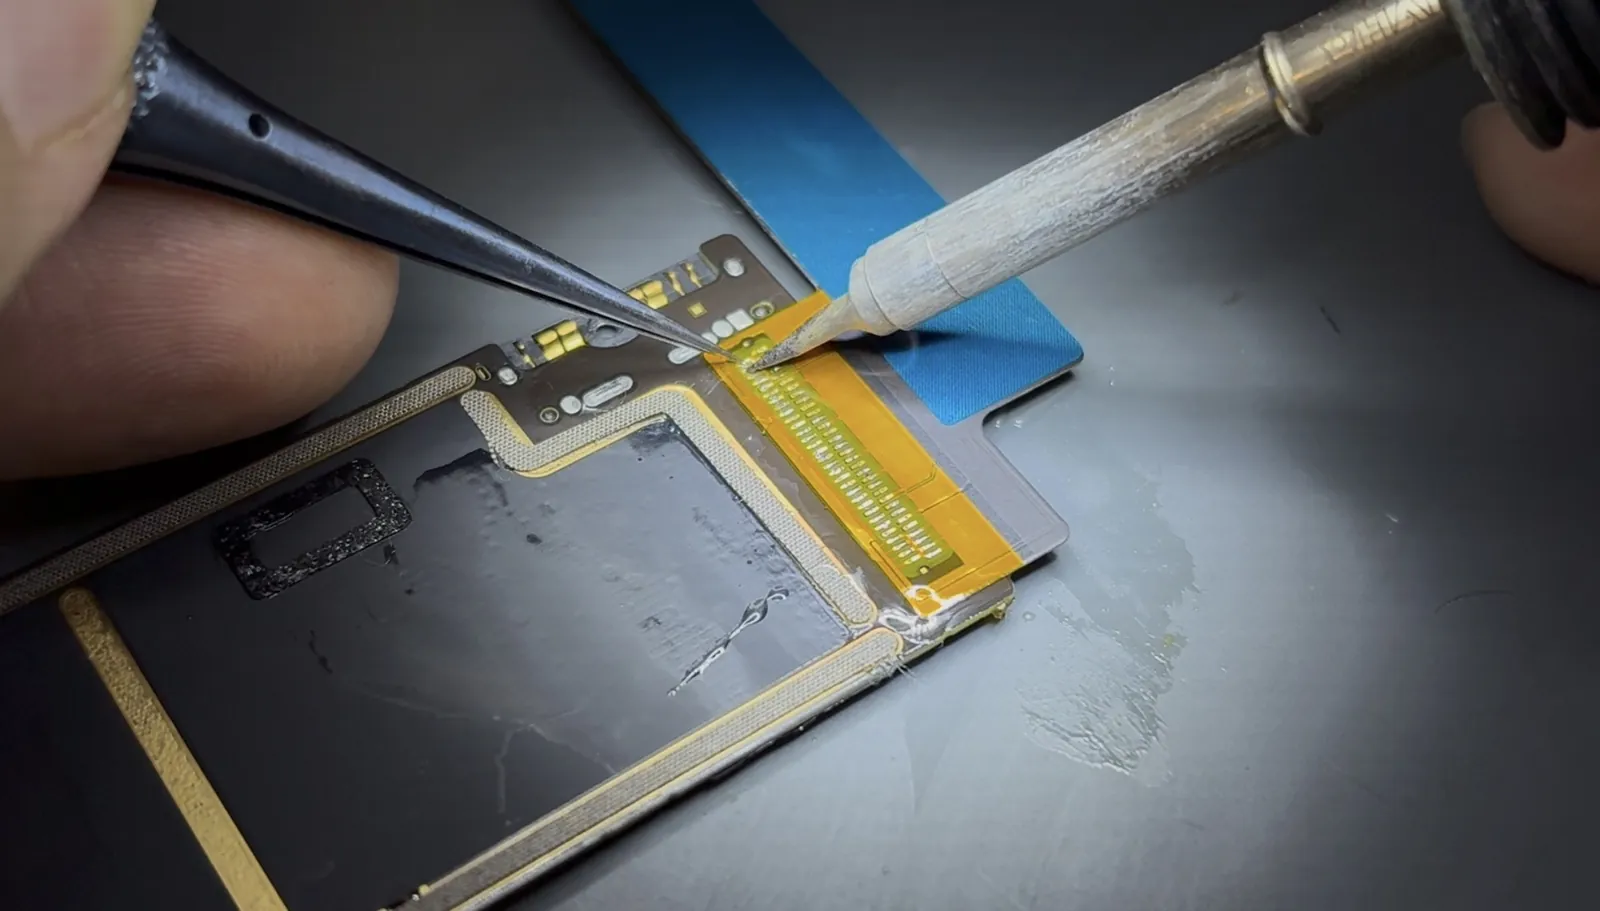
New port soldered in
The new USB-C port is aligned on the footprint and soldered joint by joint under magnification, then inspected the same way. One bridged pair of pins and the iPad is worse off than it came in.
Soldered, sealed, and charging
The last step is making sure this repair outlasts the first one.
Charging on the first cable
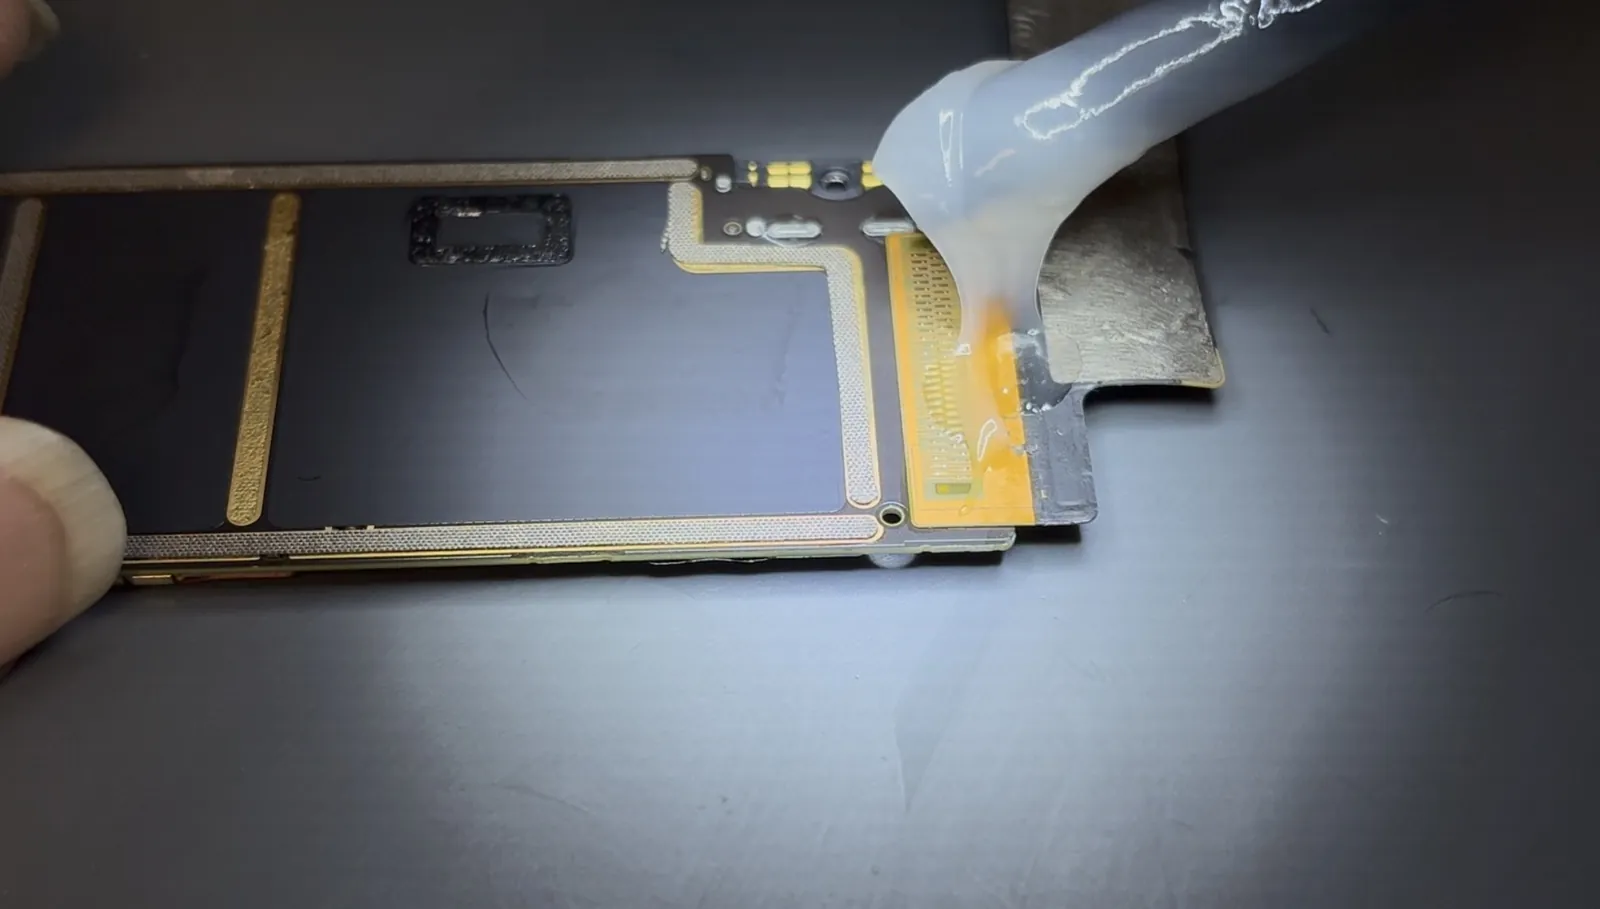
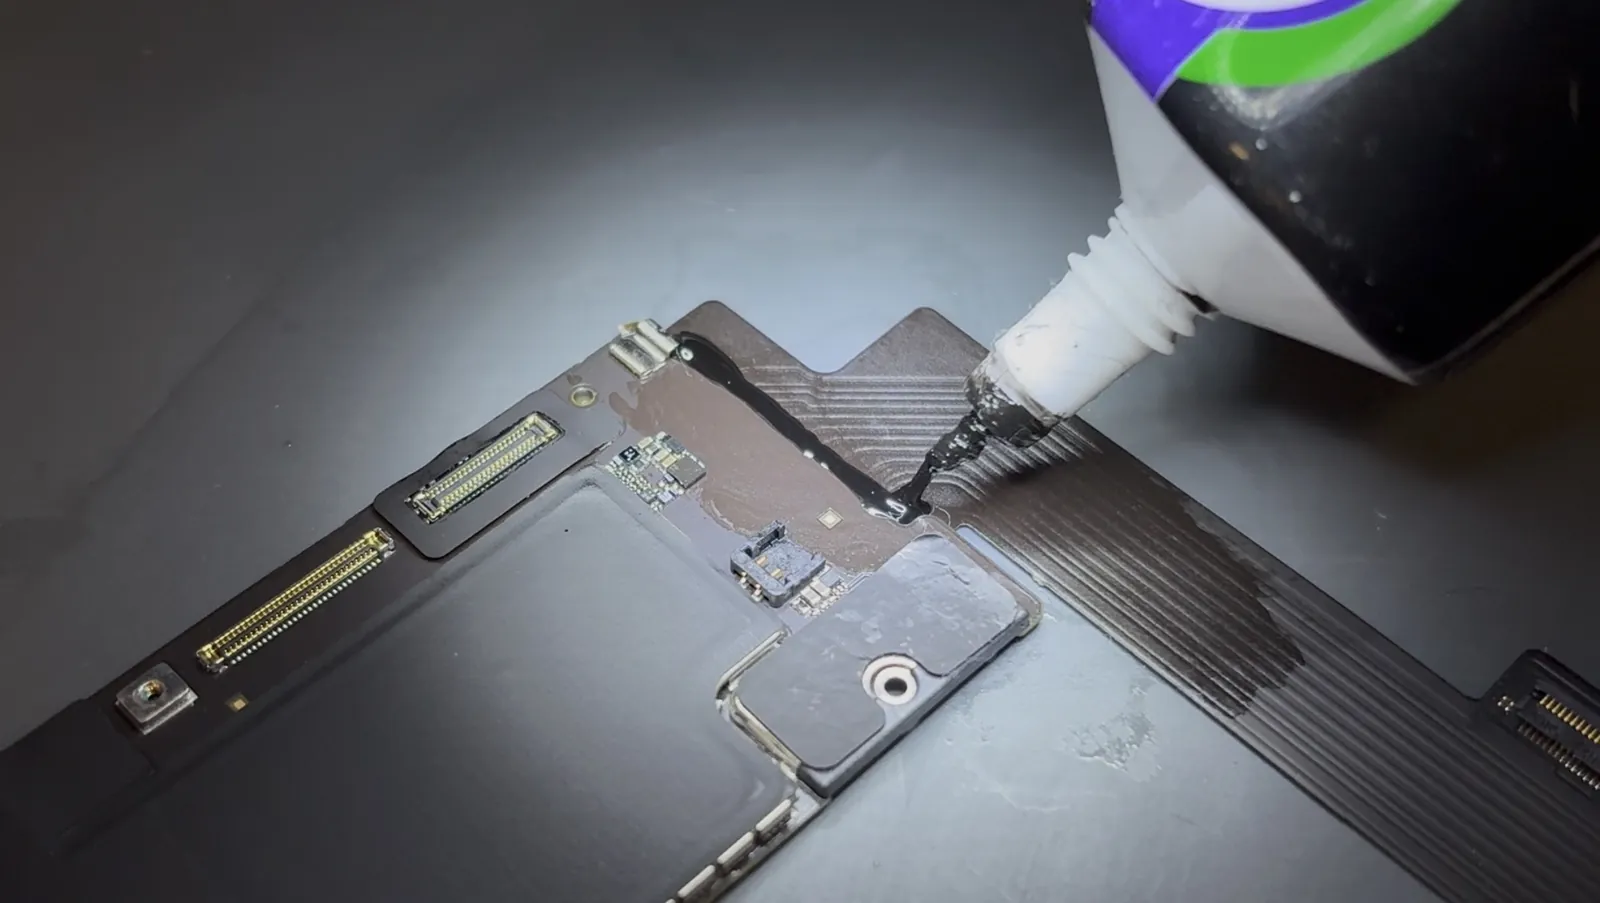
Before anything gets sealed, the iPad goes on a charger and has to prove itself — steady current, no heat at the port, cable seating with a proper click. Then the soldered joints get a bead of adhesive over them as strain relief — so the force of everyday plugging and unplugging lands on the glue, not on the solder joints.
iPad not charging?
Bring it in — diagnosis is free, most port repairs are done the same day, and you only decide after you know what’s actually wrong. Walk-ins welcome in Downtown Los Angeles.