
No Signal on the TVPS5 Slim HDMI Port Repair — Downtown LA
The console powered on, the light came up, the fan spun — and the TV said nothing. The HDMI cable had stopped clicking in weeks earlier, and one last pull finished the port off. This is the full board-level repair, from teardown to the test screen.
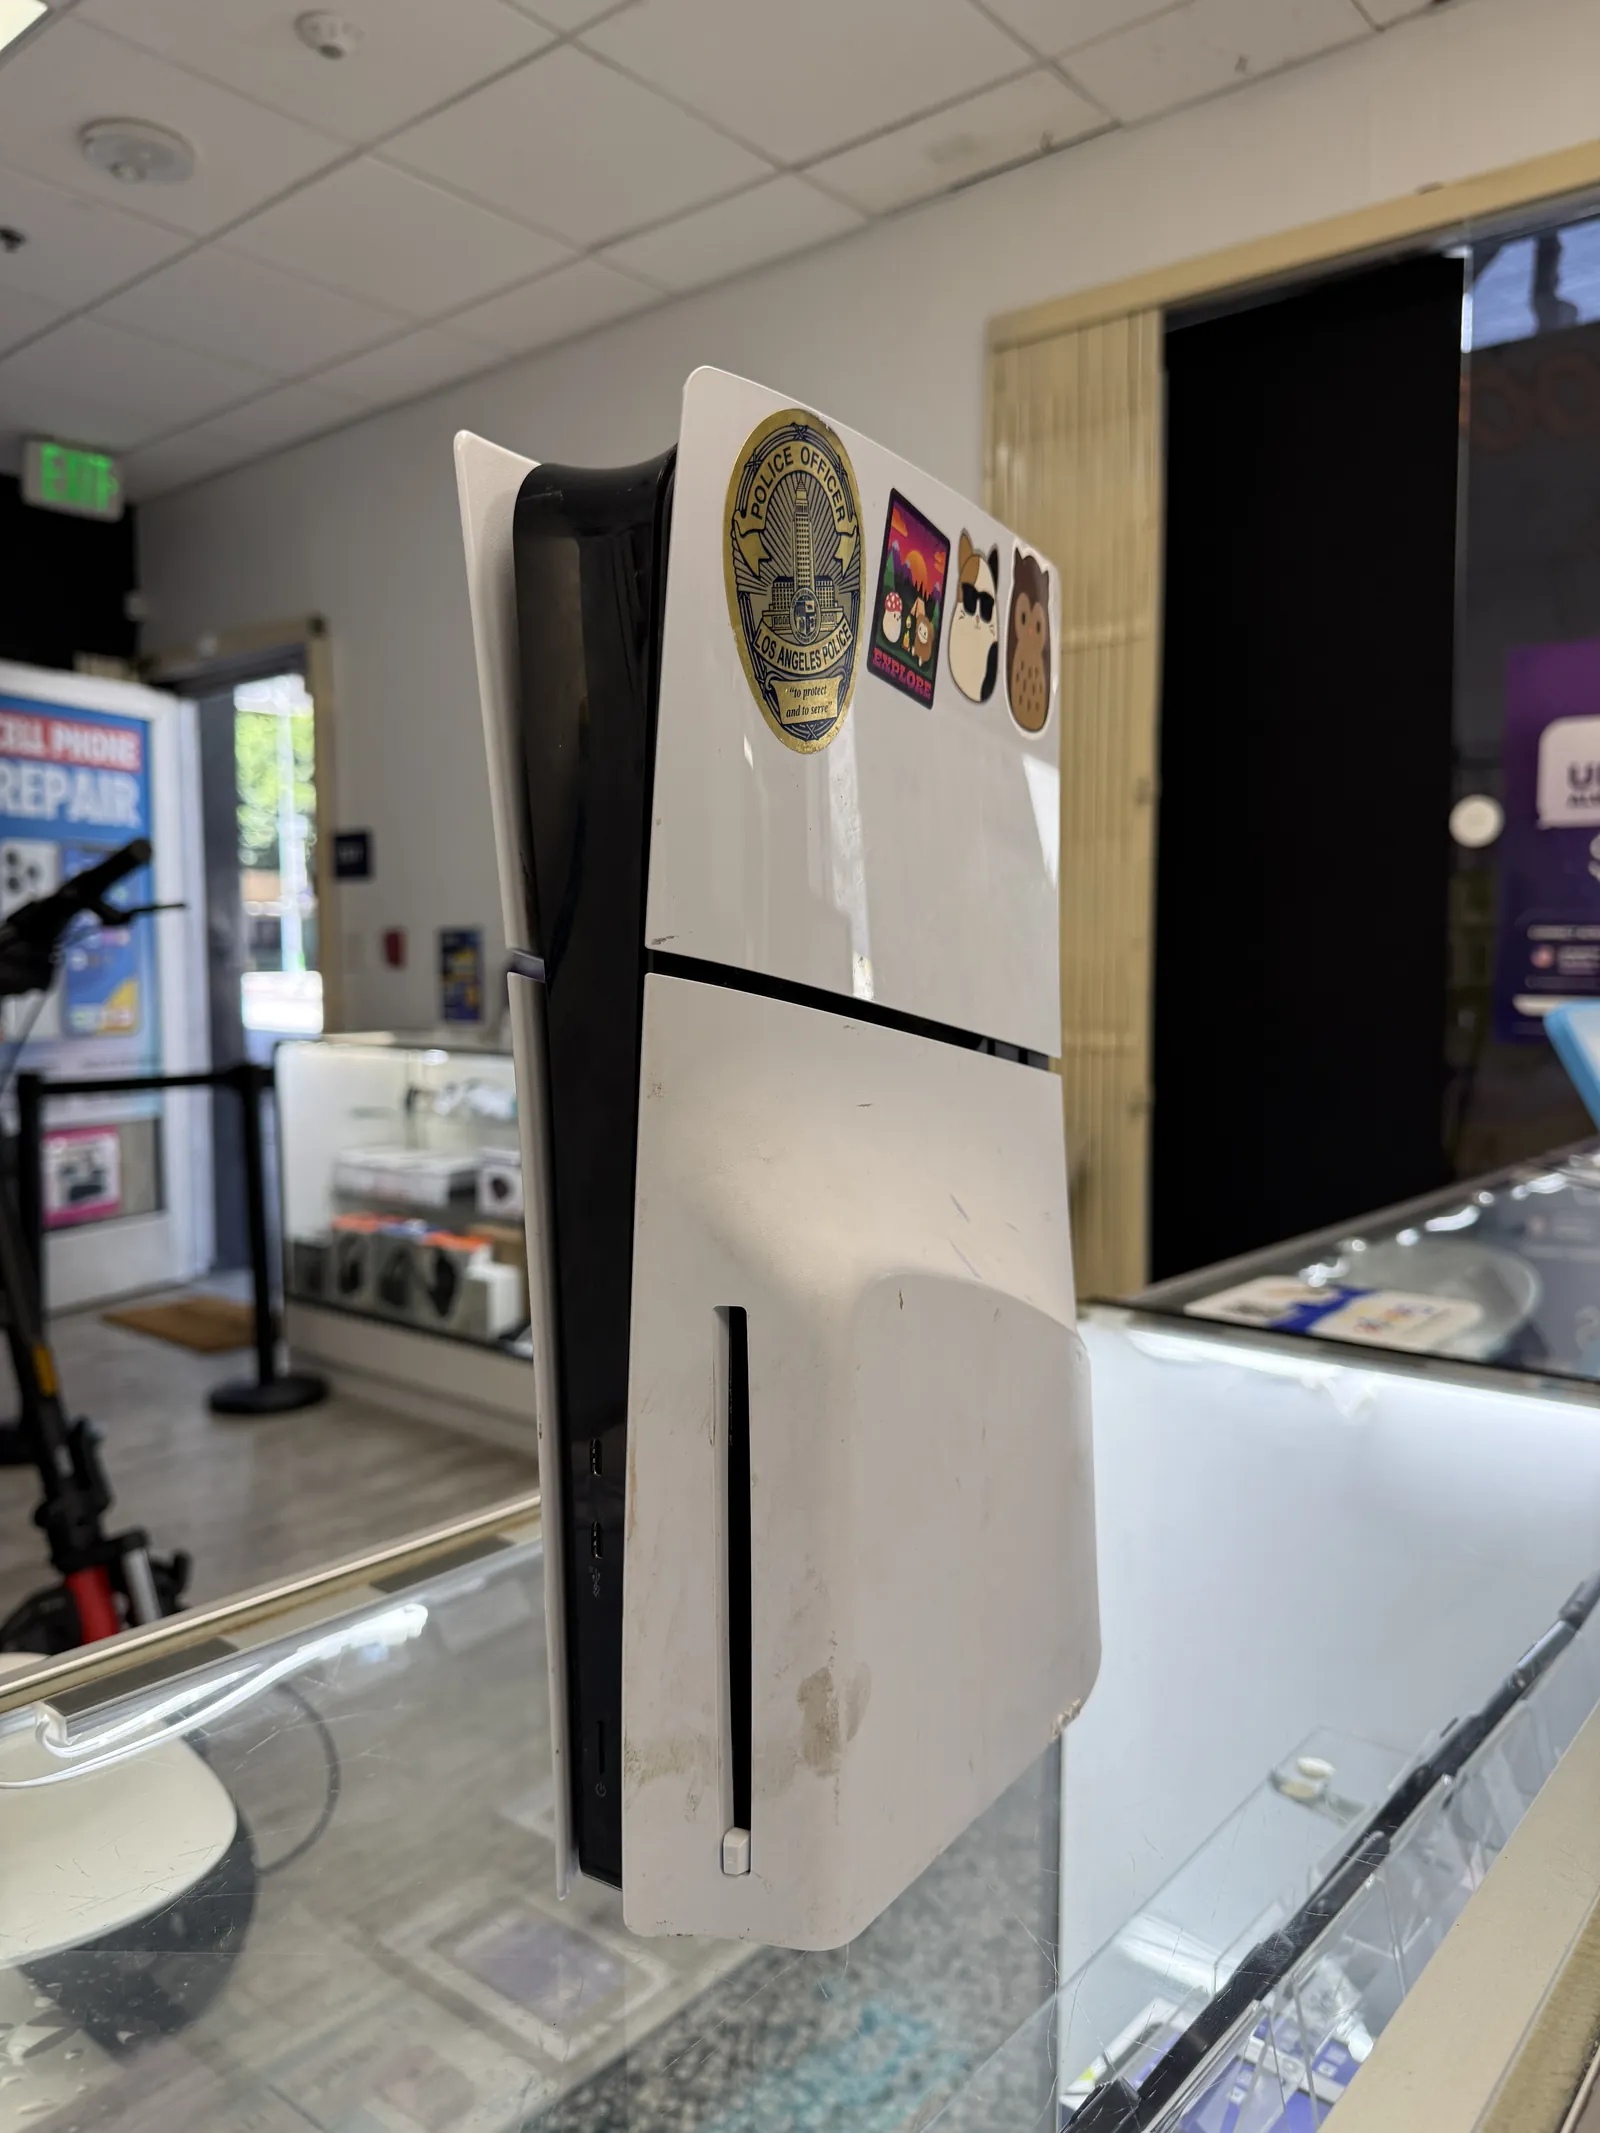
Console runs, TV shows nothing
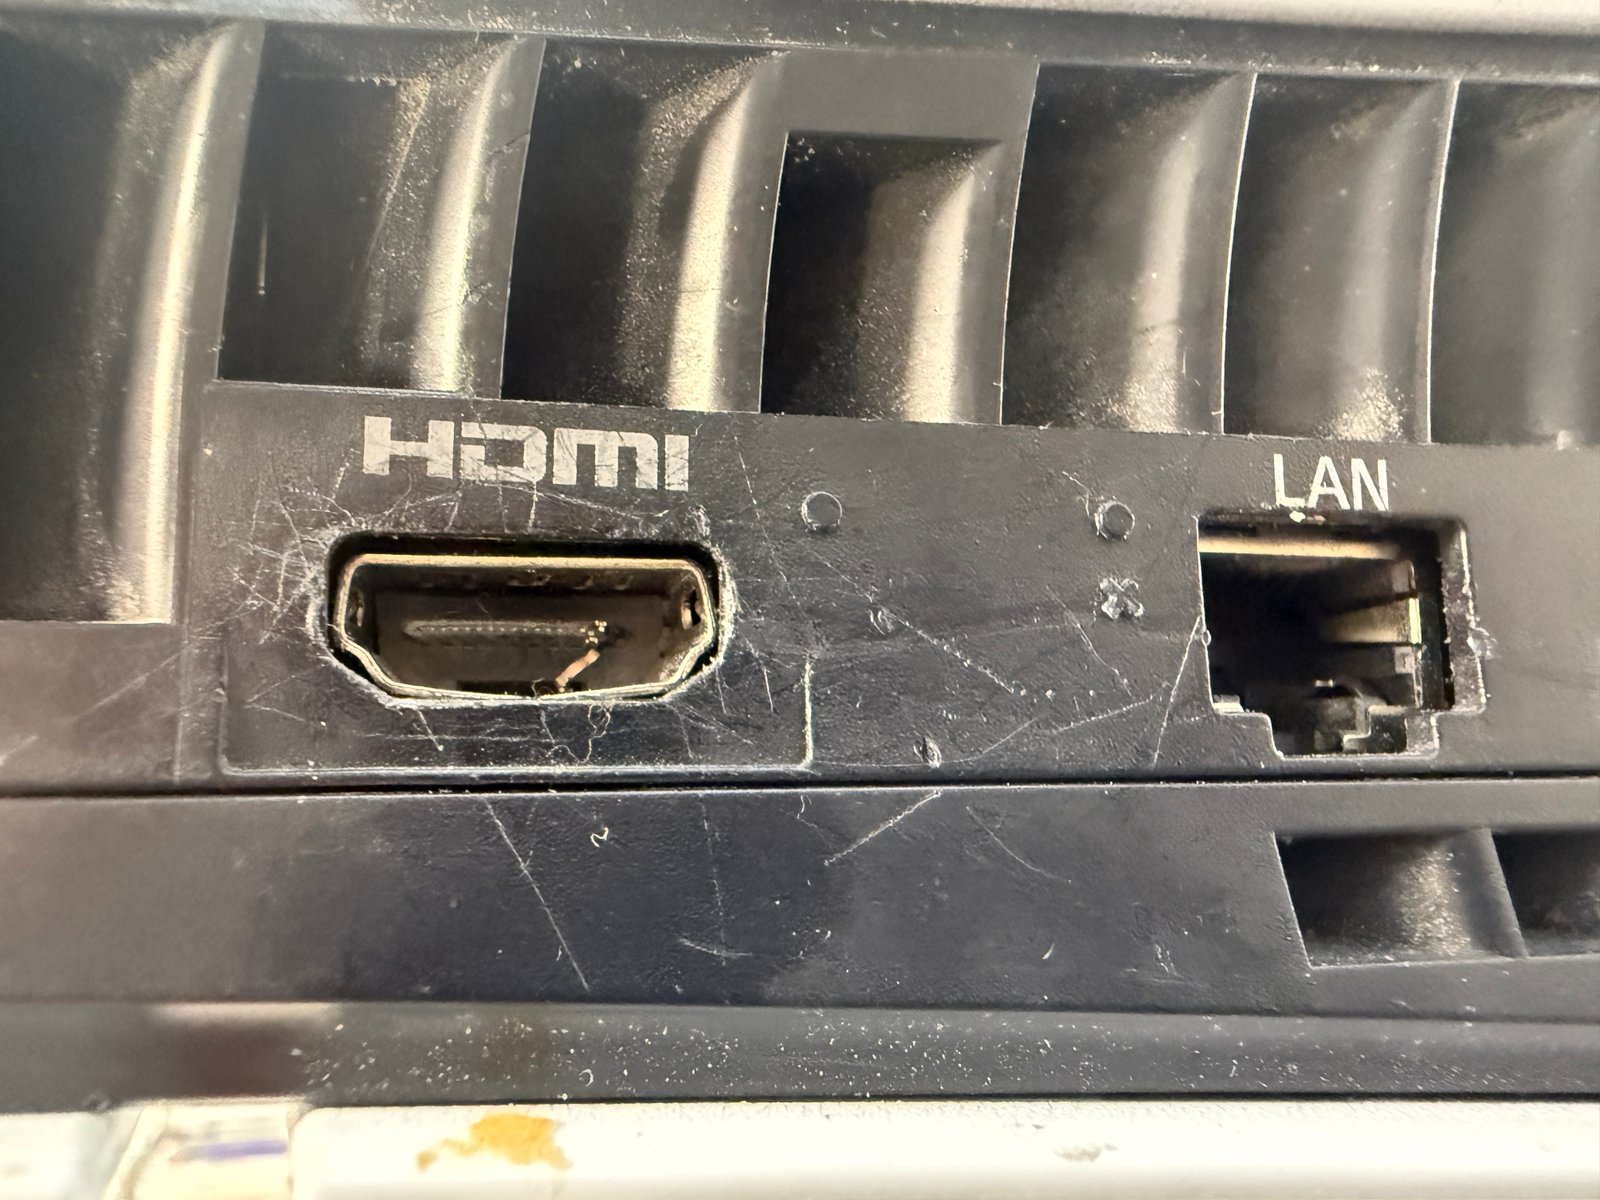
Bent pins inside the HDMI jack
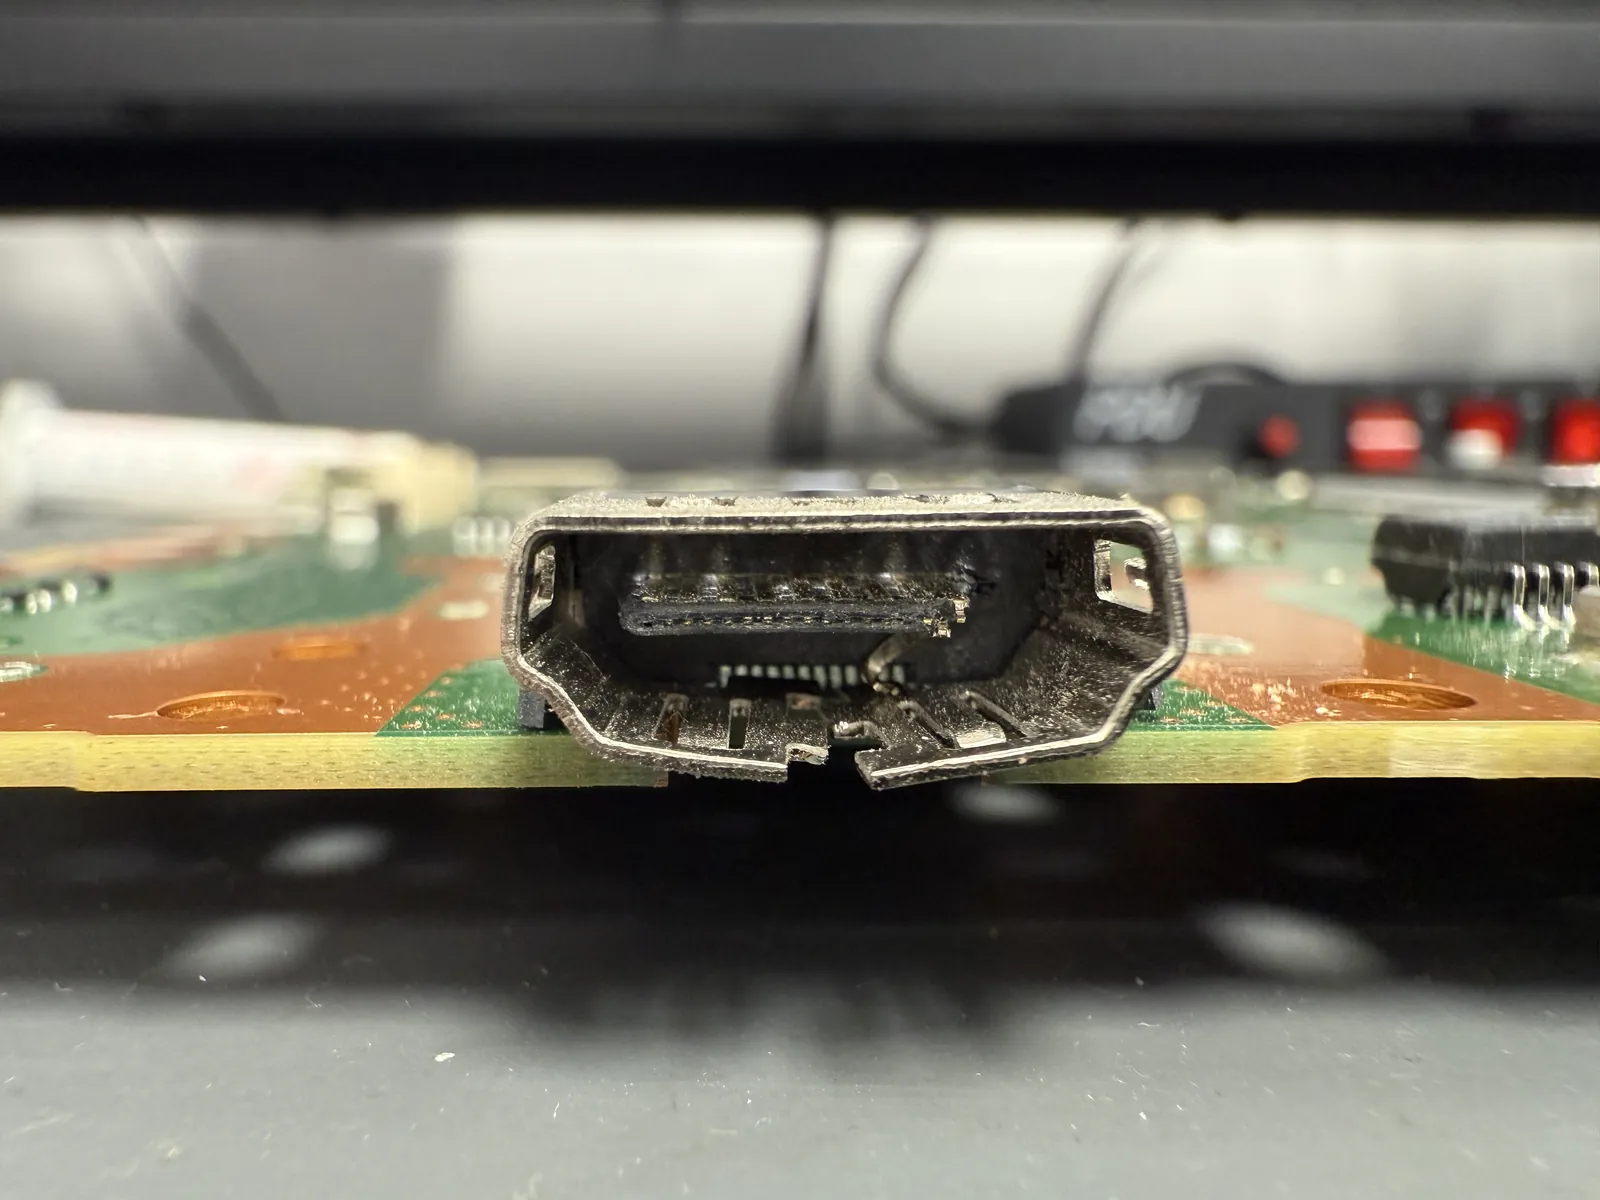
New port fitted, signal restored
The job, on one card
Everything that matters about this repair, before the story.
| Model | PS5 Slim · disc edition |
|---|---|
| Problem | No video output. The HDMI port was physically damaged — pins bent and pushed in, cable wouldn’t seat. |
| Repair time | Same day · about 2 hours on the bench |
| Warranty | 30 days on the new port and the soldering work |
| Teardown | Expert only5 / 5 |
| Tech’s note | This is not a swap, it’s microsoldering. The port is anchored to large ground planes that pull heat away as fast as you add it, and there are small components within a couple of millimeters of the joint. Too little heat and the port never releases. Too much, or held too long, and you lift pads — and a lifted pad turns a port job into a board repair. Not something to attempt with a hardware-store iron. |
How PS5 HDMI ports die
The port is the only thing between your console and the screen, and it takes more abuse than any other part of a PS5.
The cable gets yanked
Someone trips on the cord, or the console gets moved with the cable still in. The plug acts as a lever and bends the pins inside the jack.
Forced or worn plugs
A plug pushed in at an angle, or hundreds of insertions over the years, slowly spreads the jack until the pins stop making contact.
Sometimes it isn’t the port
A dead HDMI encoder chip shows the same blank screen. That’s why we test before quoting — on this one the damage was visible the moment we looked inside the jack.
From teardown to the test screen
Board-level work, in the order it actually happened on the bench.
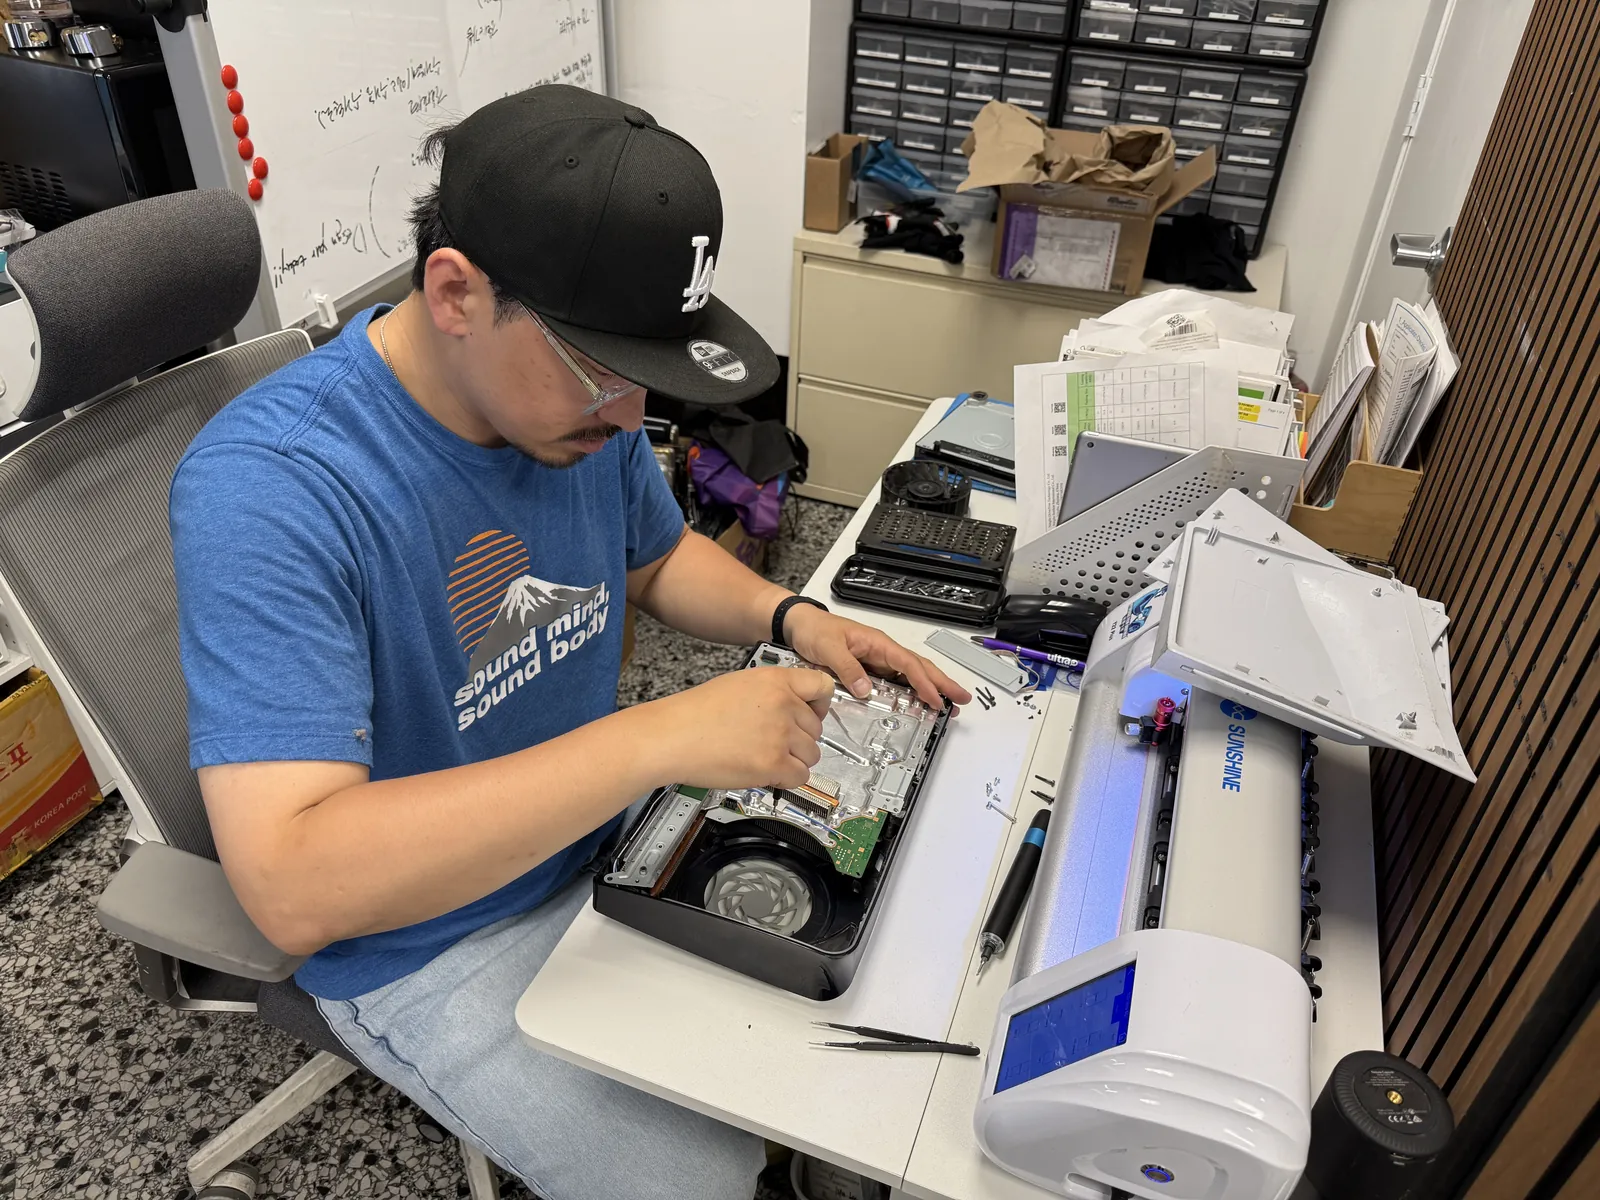
Down to the mainboard
The PS5 Slim comes apart in layers — shells, shielding, fan ducting, then the board itself. The board has to come all the way out, because the soldering happens from both sides.
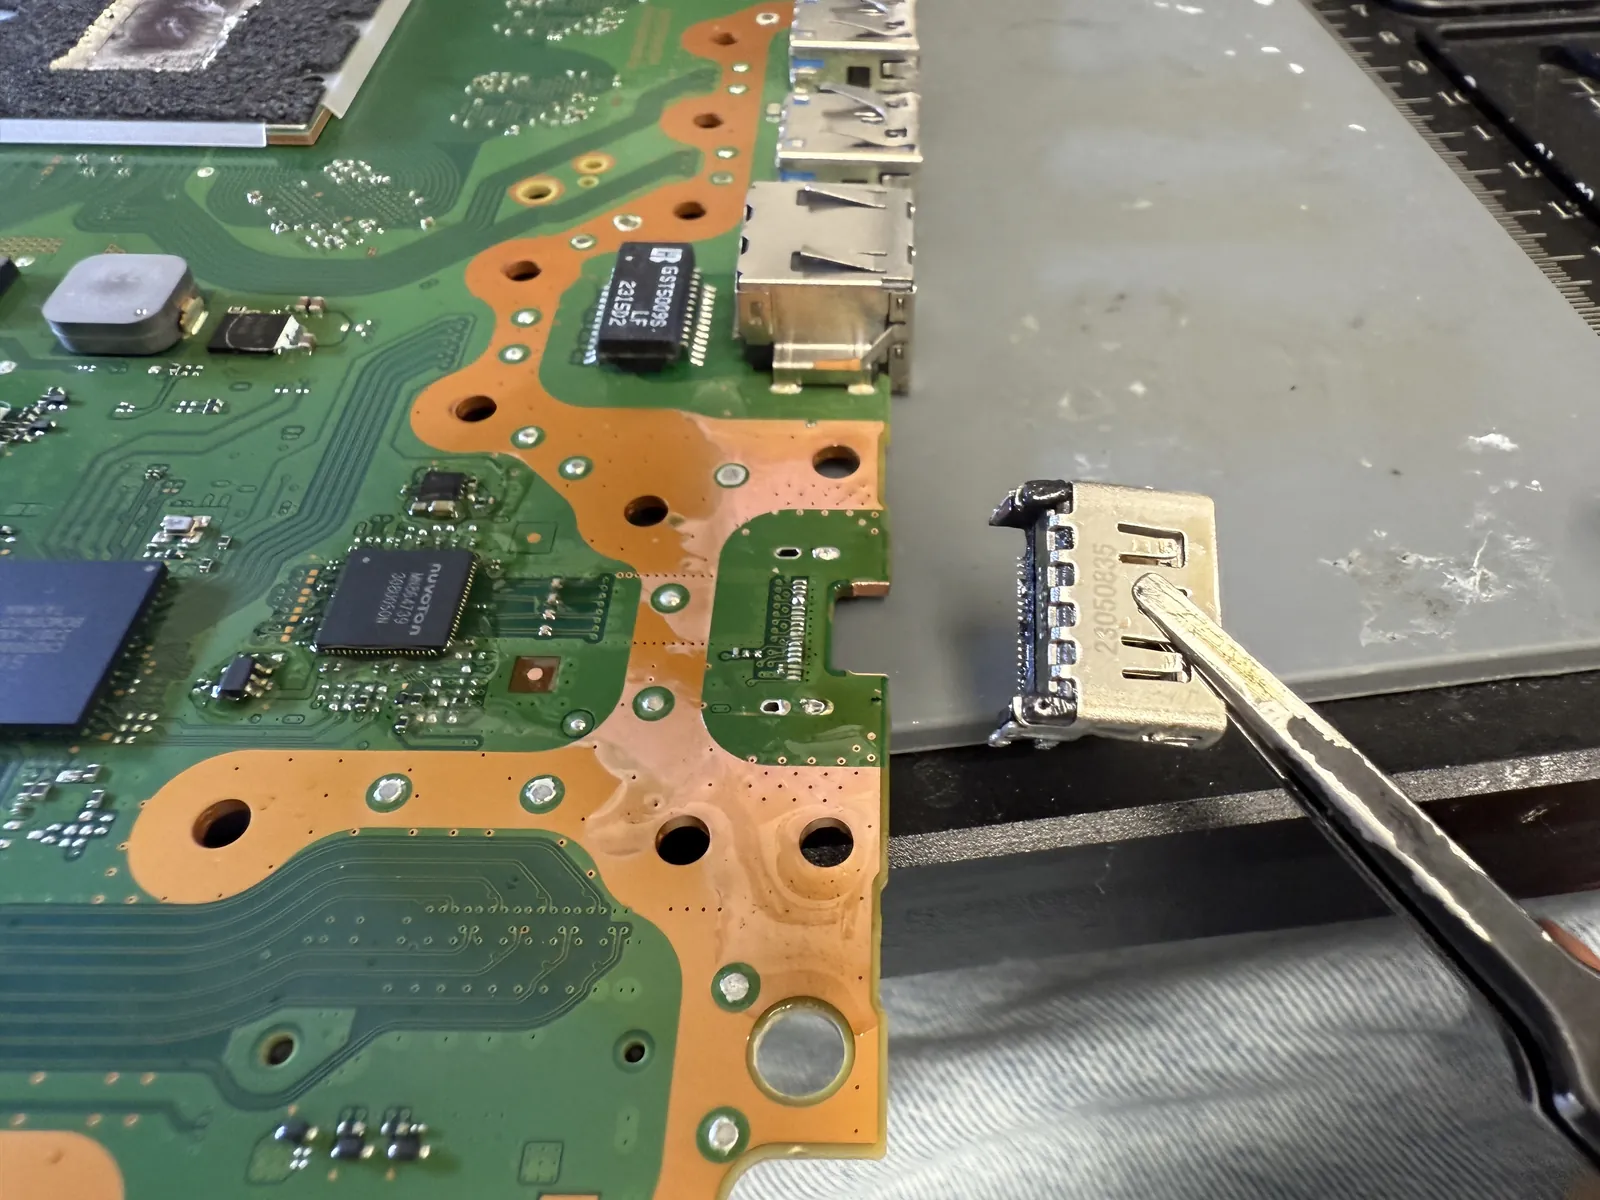
Old port off with hot air
The damaged jack is desoldered with hot air at a controlled temperature. This is the risky part: the surrounding components sit millimeters away, and rushing it is how boards get killed.
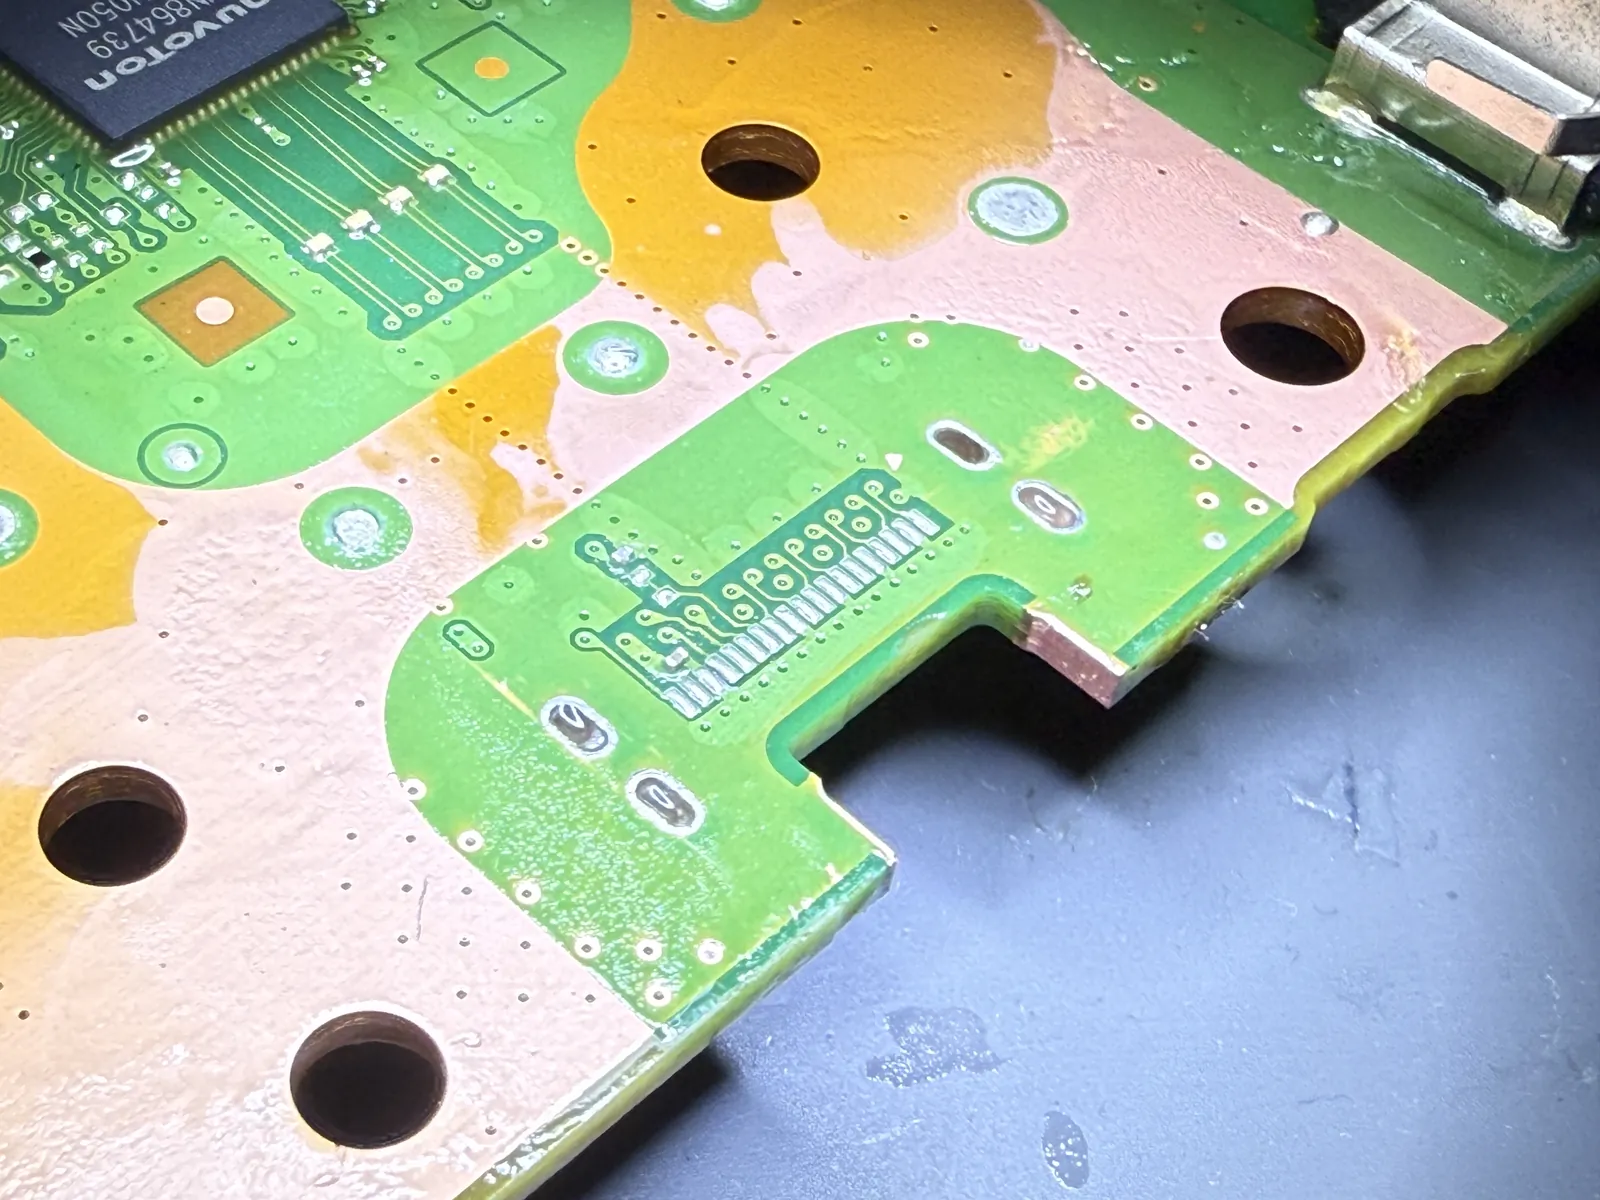
Pads cleaned and tinned
Every pad is cleaned of old solder, checked under magnification for lifts or torn traces, then tinned with fresh solder. The footprint has to be perfect before the new part goes anywhere near it.
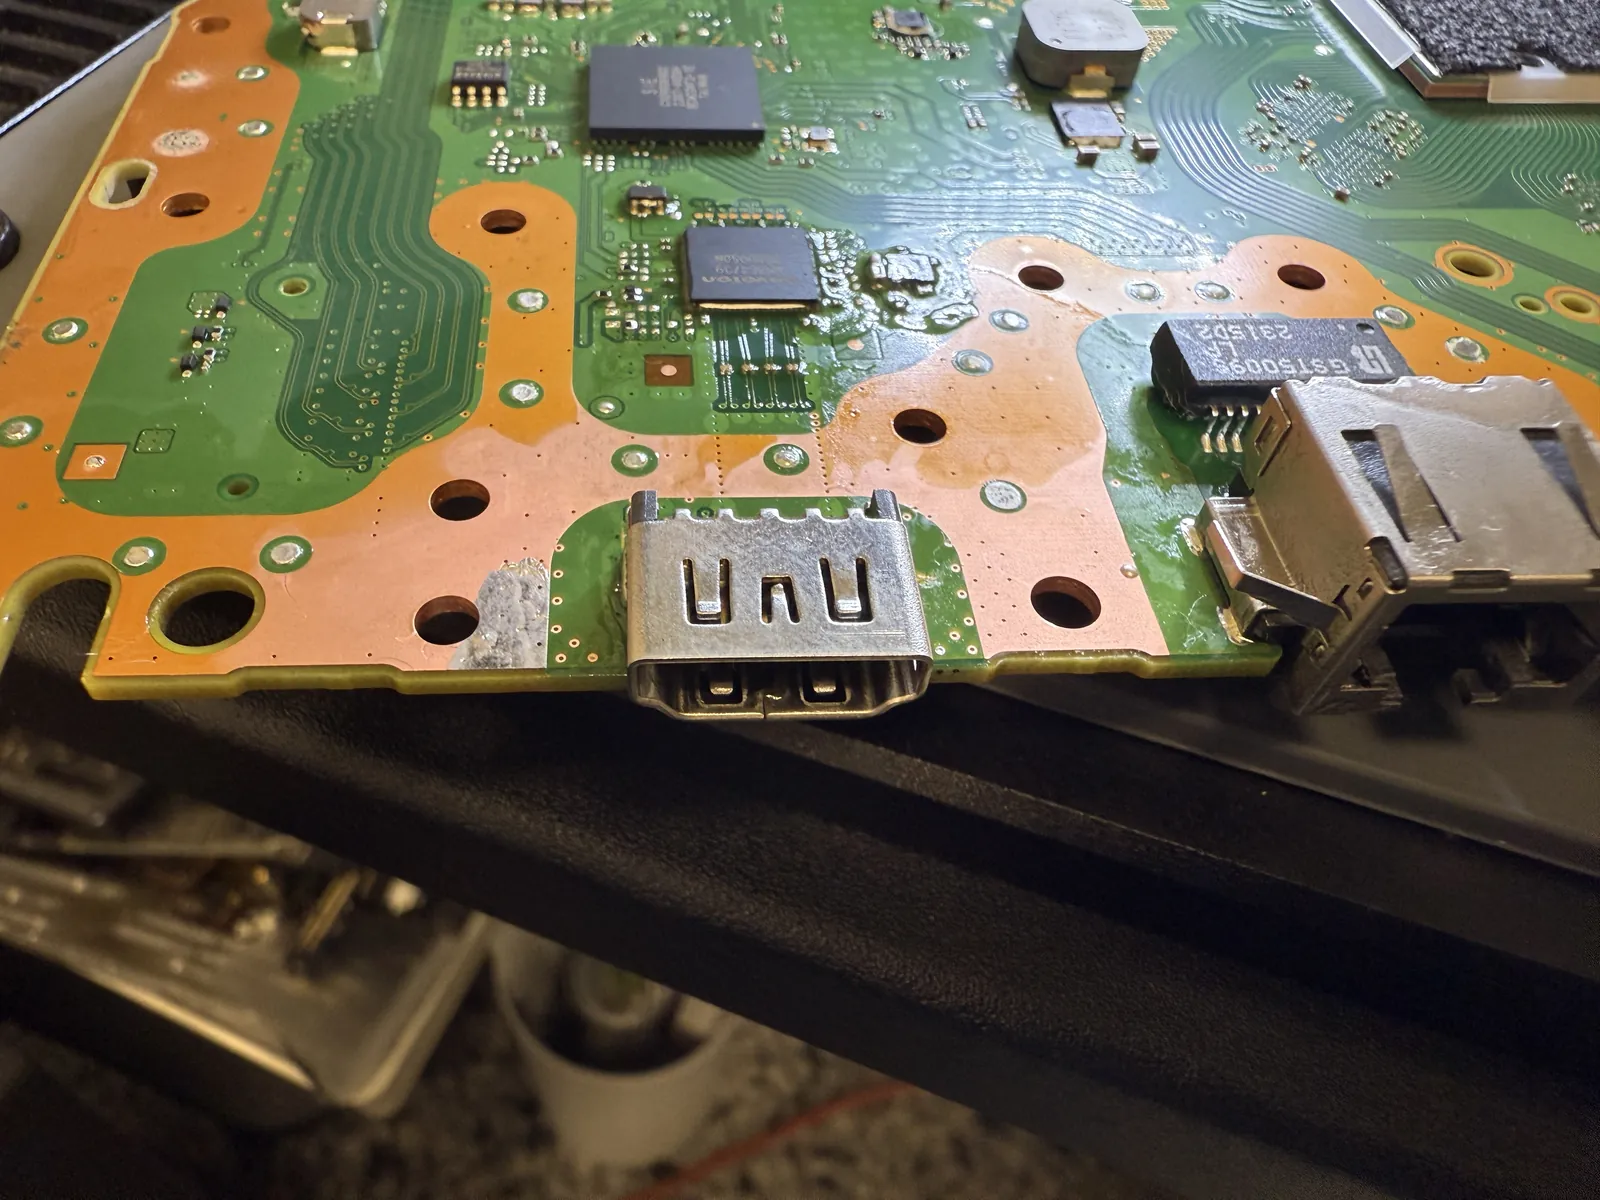
New port on, then the real test
The new jack is aligned, reflowed, and inspected joint by joint. Then the console is reassembled far enough to power on — because the only test that counts is a picture on a screen.
Signal restored
Reassembled, plugged in, and left running on the bench.
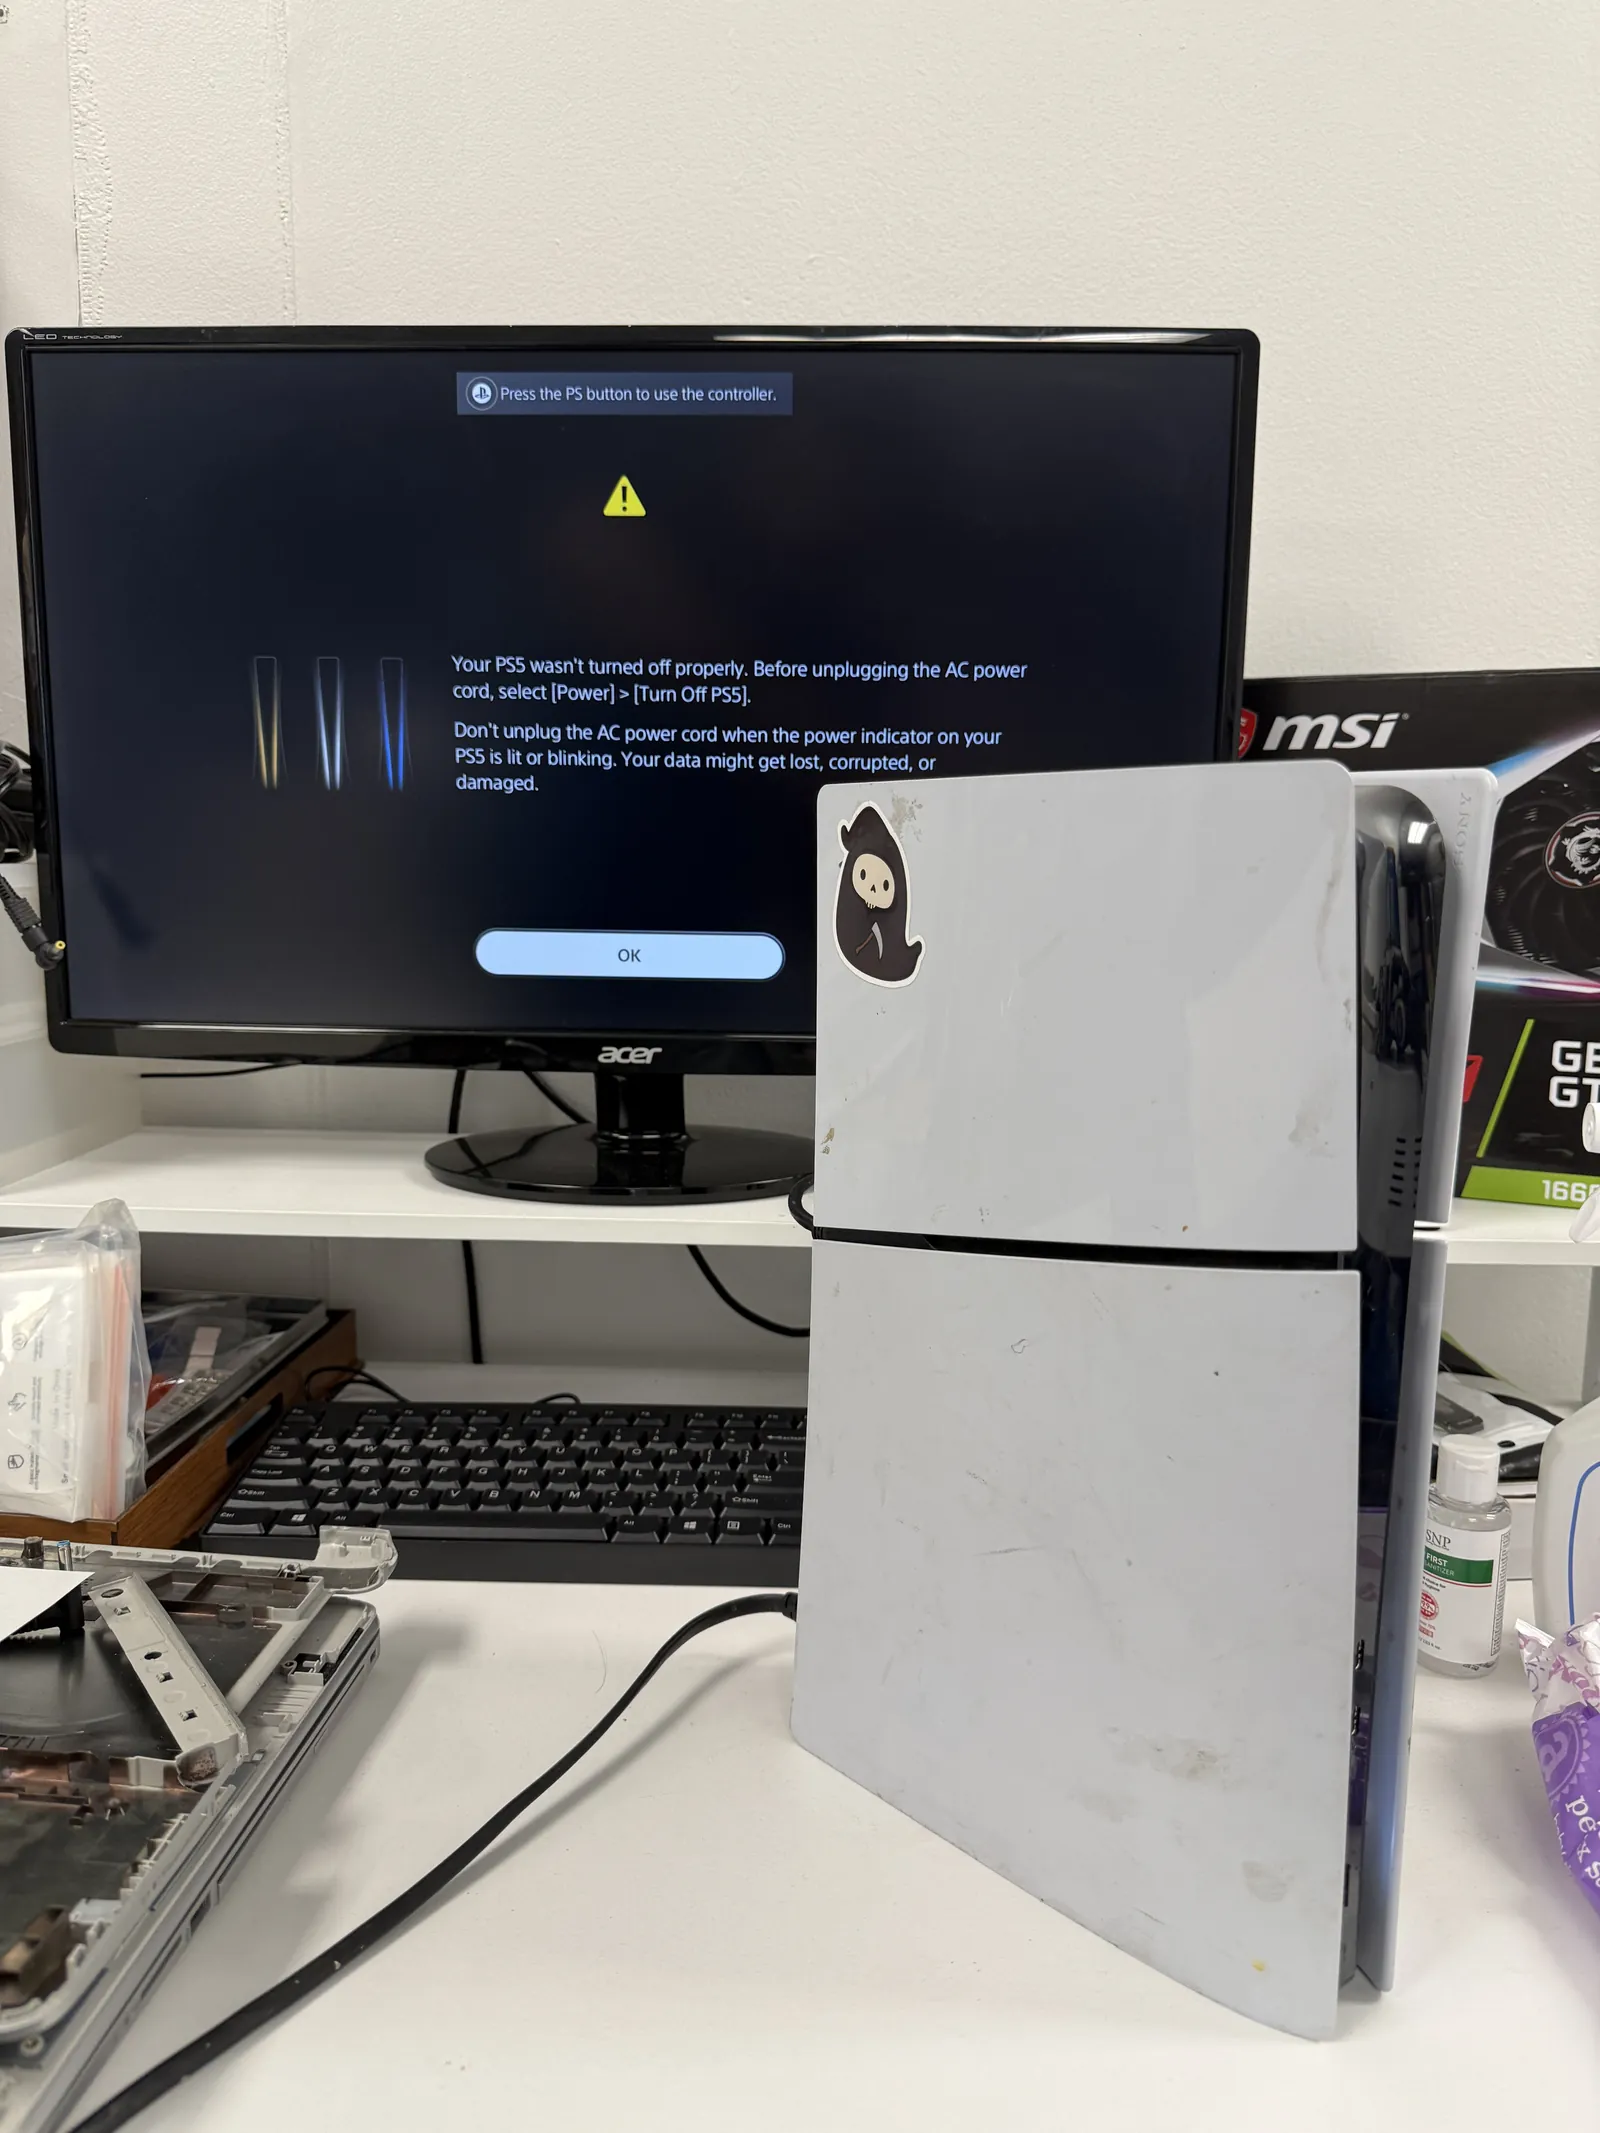
Picture on the first boot
The console came up straight to the PlayStation screen — the “wasn’t turned off properly” message you see in the photo is just the console complaining about its last crash before the repair. We ran it through resolution changes and a controller session before calling it done. The cable now clicks in and holds.
PS5 with no picture?
Bring it in — diagnosis is free, most HDMI ports are done the same day, and you only decide after you know what’s wrong. Walk-ins welcome in Downtown Los Angeles.